
In this blog post, I will show you how I was able to add an extension field in a business object extension (XBO) with a value help (via OVS — Object Value Selector) with ID and description.

For this case, I applied this to a XBO for InstalledBase. The extension field refers to an Organisational Unit.
Step 1. Define the XBO
In the Solution Explorer, I right-clicked on the solution name, and selected Add > New Item…
The details of the XBO are filled in as follows:
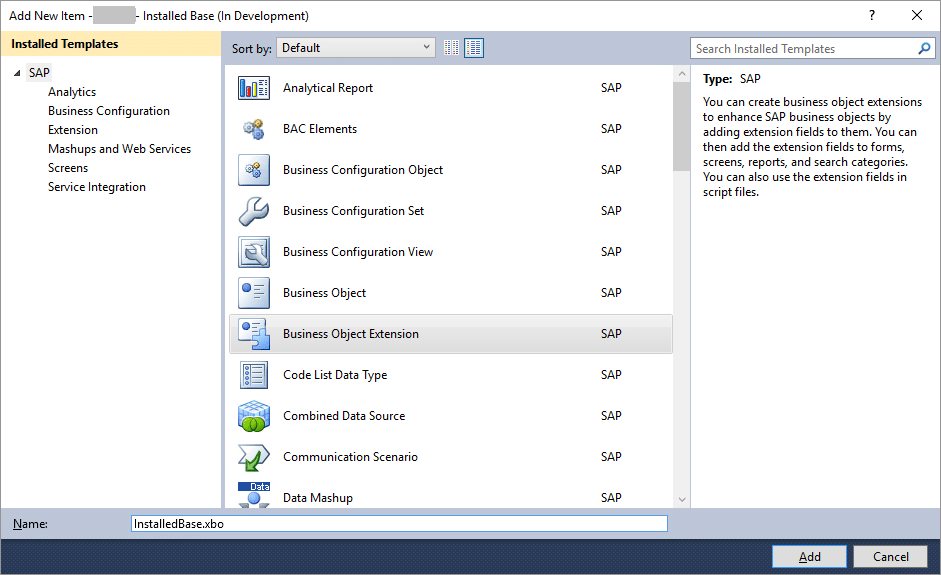
Provide a file name, then click “Add”.

Select the Namespace and Business Object, then press “OK”.
Step 2. Define the Extension Fields — one for ID, one for Description
Double-click on the XBO, and add the following code:
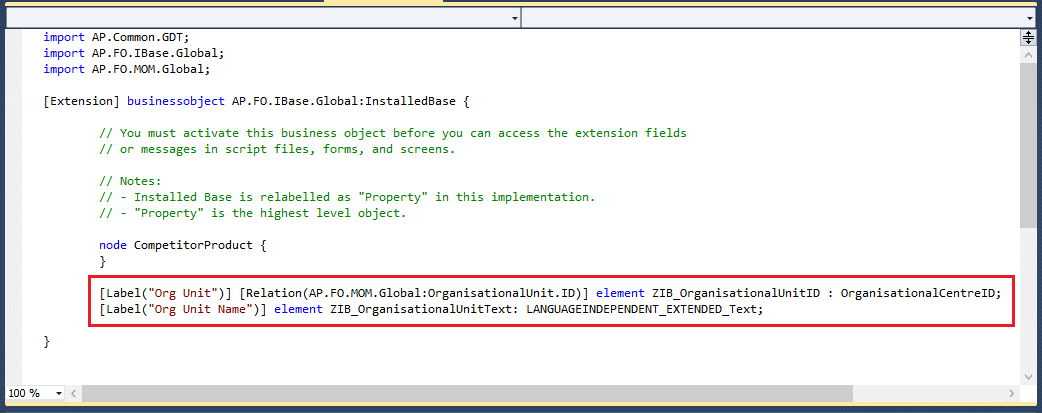
The ID field (in this case, element ZIB_OrganisationalUnitID) must be defined with an ID data type (in this case, the data type is OrganisationalCentreID). You also need to define the Relation so the ID-Field configuration in the UI Designer will recognize your ID field later.
The description field (ZIB_OrganisationalUnitText) must be defined with a text data type.
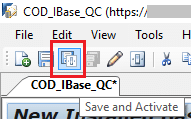
Activate the XBO (don’t forget this).
Step 3. Enhance the screen via the XBO
After the XBO has been activated from step 2, right-click on the XBO, and select “Enhance Screen”.

Select the floor plans to enhance, and click “OK”.

Step 4. Add the Custom Fields via the UI Designer
So open the floor plan (or screen) by double-clicking the XUI component generated from the previous step in Solution Explorer.

Once the UI designer has loaded the XUI component, at the Extensibility Explorer, pick the SectionGroup where the custom field will be stored (in this case, Header is selected). This will provide you with the available Operations.

Select “Add Extension Field to Section Group”, and add the fields you will use (including the description field, even if you will hide it later) by placing a check on the Add field.

Click on “Apply”.
Expect a prompt telling you that you will need to activate to see the changes. So, Save and Activate!
Next, under Operations, select “Adjust Properties”.

In here, just hide the description field, and click “Apply”.

Step 5. Set the OVS and Description field
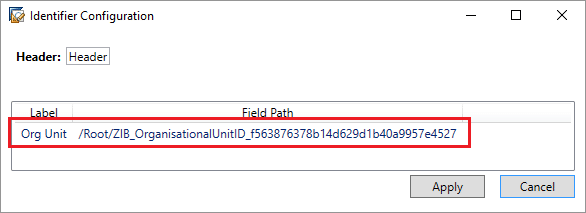
Under Operations, select “Change ID-Field Configuration”.

Initially, you will have a compressed screen. Select the field:
…and the menu will expand. Select the OVS Component search.

At the next screen, select “PublicOVS”.

Here, you will need to search the OVS you need. For my requirement, I selected the following, and pressed “OK”:

The “Target OVS Inport” should populate. Click “Ok” to proceed.

The OVS Component field should be populated now. Next, we go to the Description Field selector:

In here, we will pick the description field, and then press “Ok”.

Now that both the OVS Component and Description Field inputs are complete, hit “Apply”.
In case you will want the field to display either the ID or Description only, just adjust the “Presentation Mode” field.

Save and Activate. You have to. Do not forget.

Repeat this for each floor plan.
Step 6. Code the value for the description field
Nope… this is not code-free.
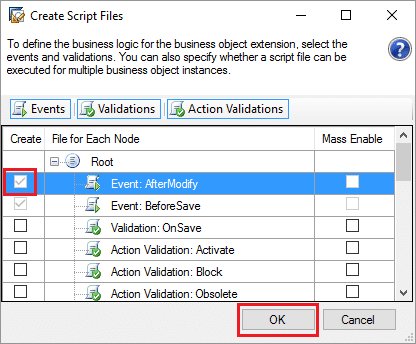
So, back at the Solution Explorer, right-click on the XBO, and select “Create Script Files”.

Make sure event AfterModify is created, and press “OK”.
Double-click on the AfterModify ABSL file, and add code that will populate the description field.

Save. Activate. Test.
The Result
So below is the extension field “Org Unit”, with a value help. Note that both ID and description is provided in the field.

Hitting the value help will show this popup:

If I double-click on ID “F2002”, I return to my Quick Create screen:

And there we go. Happy coding!
New NetWeaver Information at SAP.com
Very Helpfull